
Why Web Accessibility Matters for Your Shopify Store
When your Shopify store is not accessible, a large segment of your potential customers simply cannot use it. This includes people with visual, auditory, cognitive, and motor impairments. Accessibility gaps can show up in many ways: low contrast text, missing alt text, keyboard traps, poor focus states, and more.
Improving accessibility on Shopify delivers several key benefits:
- Legal risk reduction: Better alignment with ADA and WCAG 2.1 guidelines reduces the chance of demand letters and lawsuits.
- Higher conversions: A more usable store means lower friction at every step of the funnel, from navigation to checkout.
- SEO improvement: Many accessibility best practices overlap with technical SEO, such as semantic structure, alt text, and better UX.
- Stronger brand perception: Shoppers are increasingly loyal to brands that are inclusive and considerate of all users.
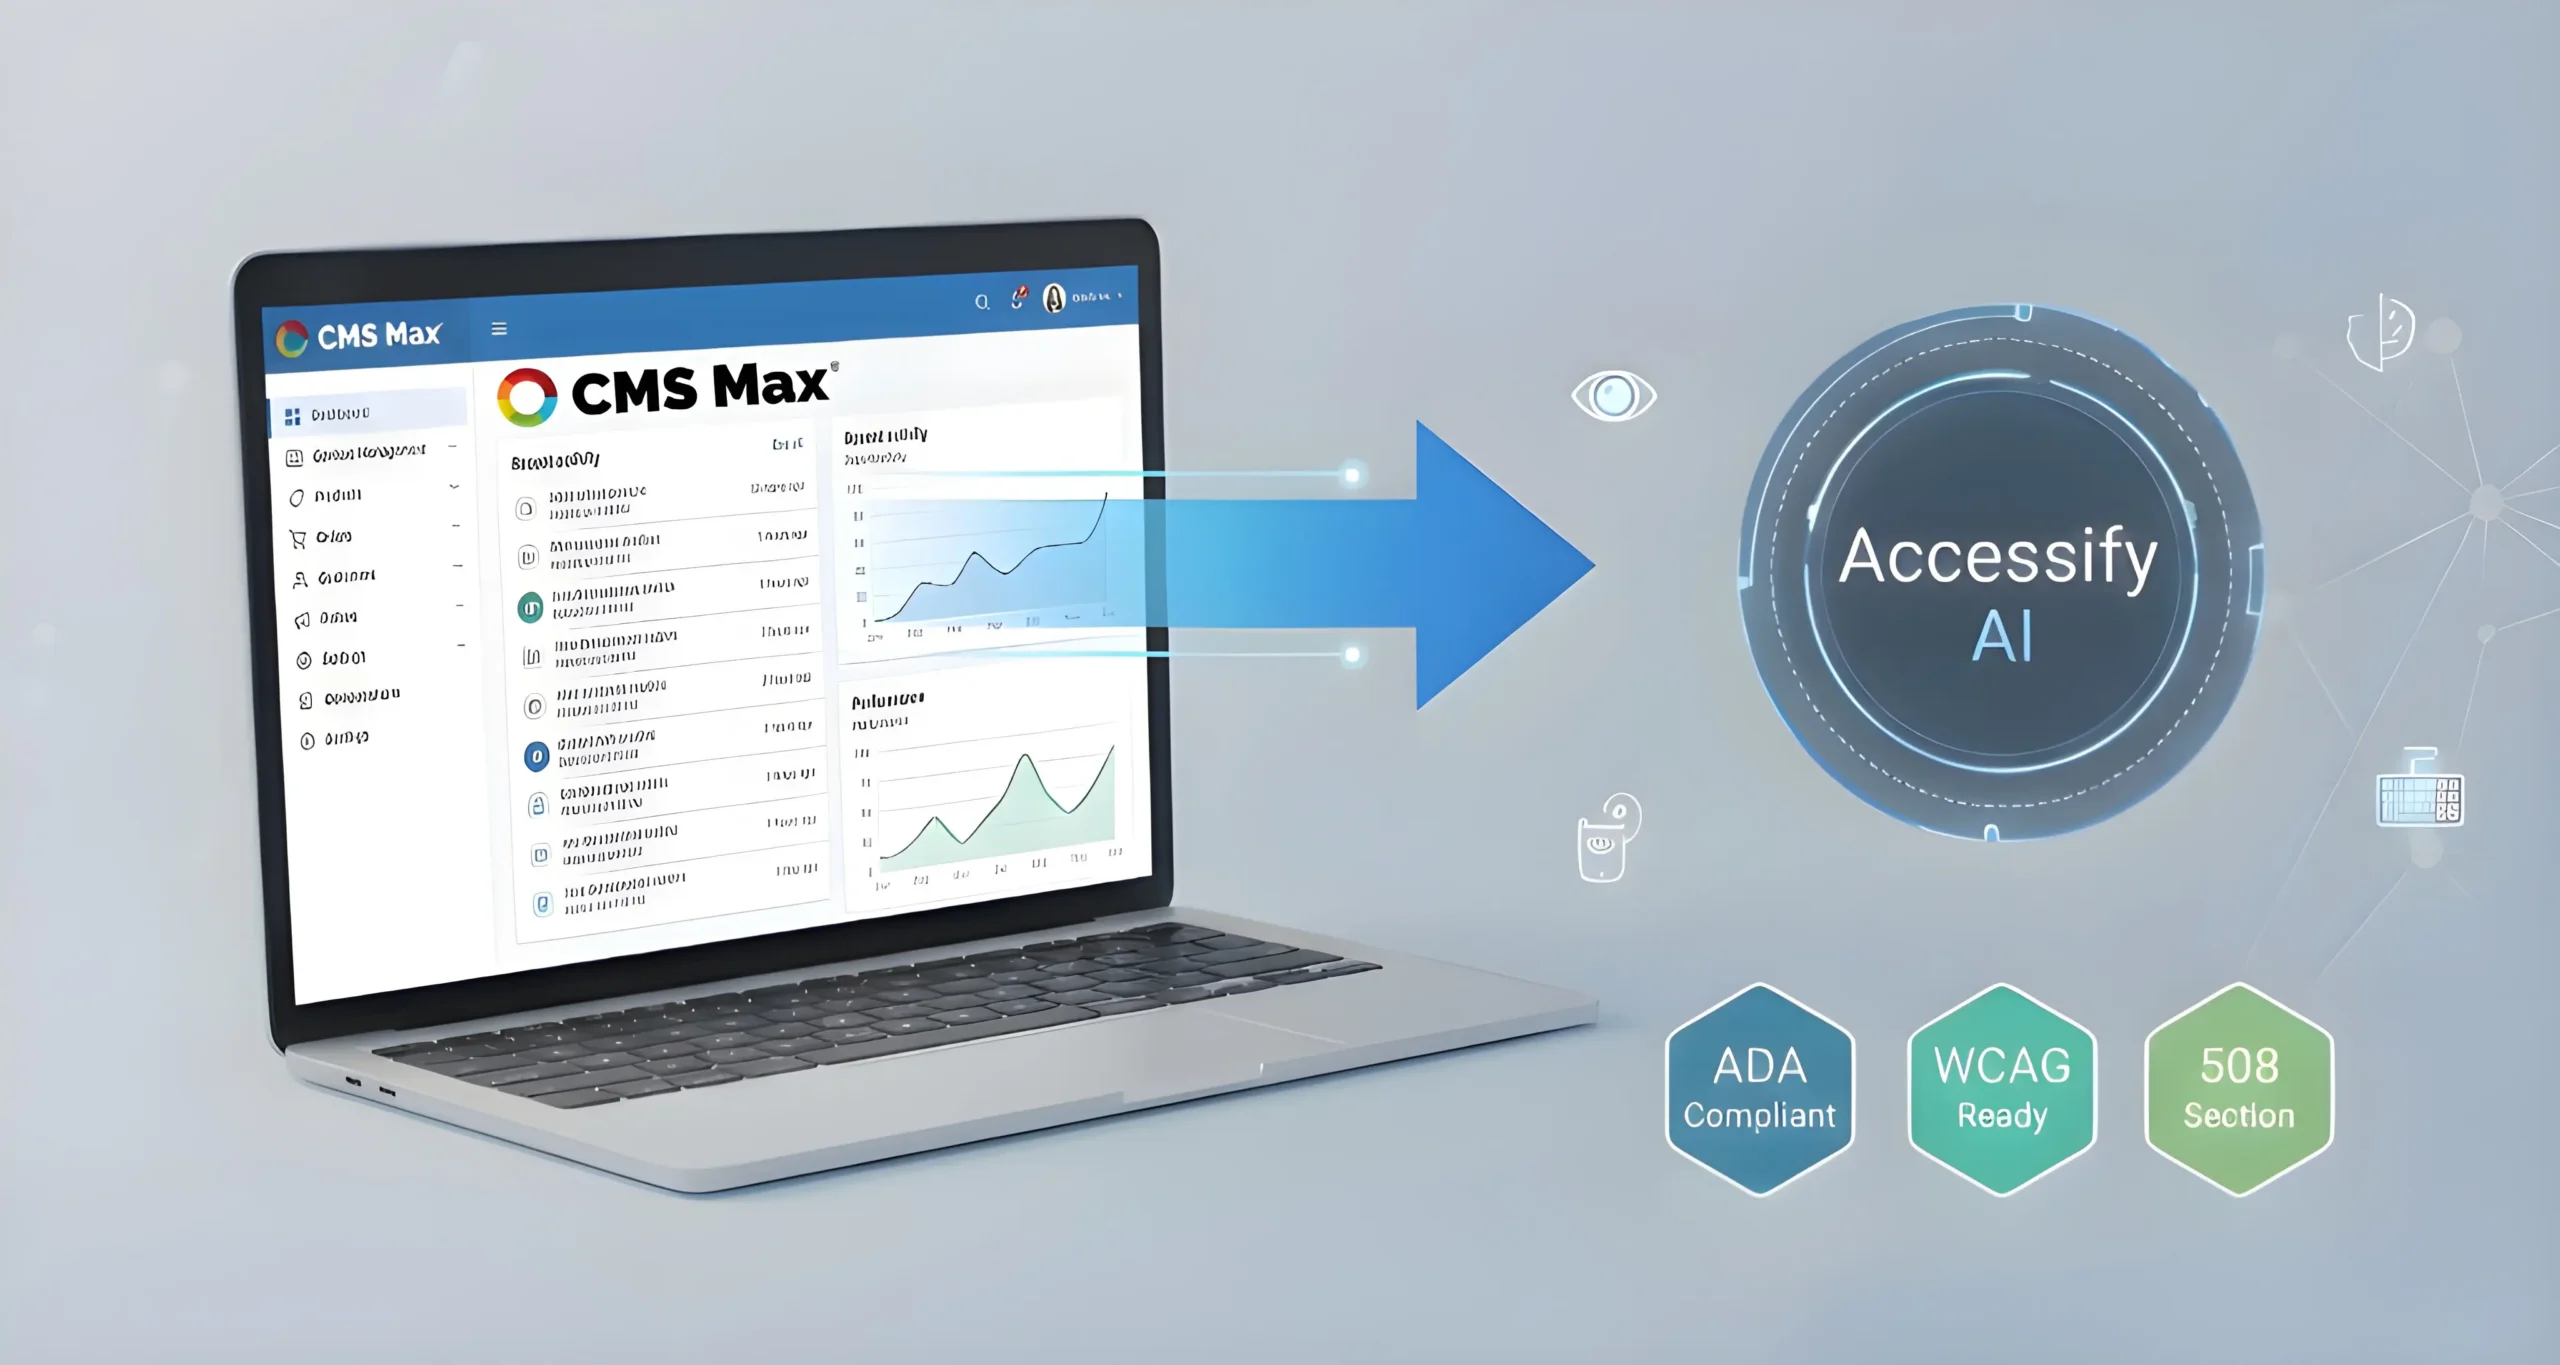
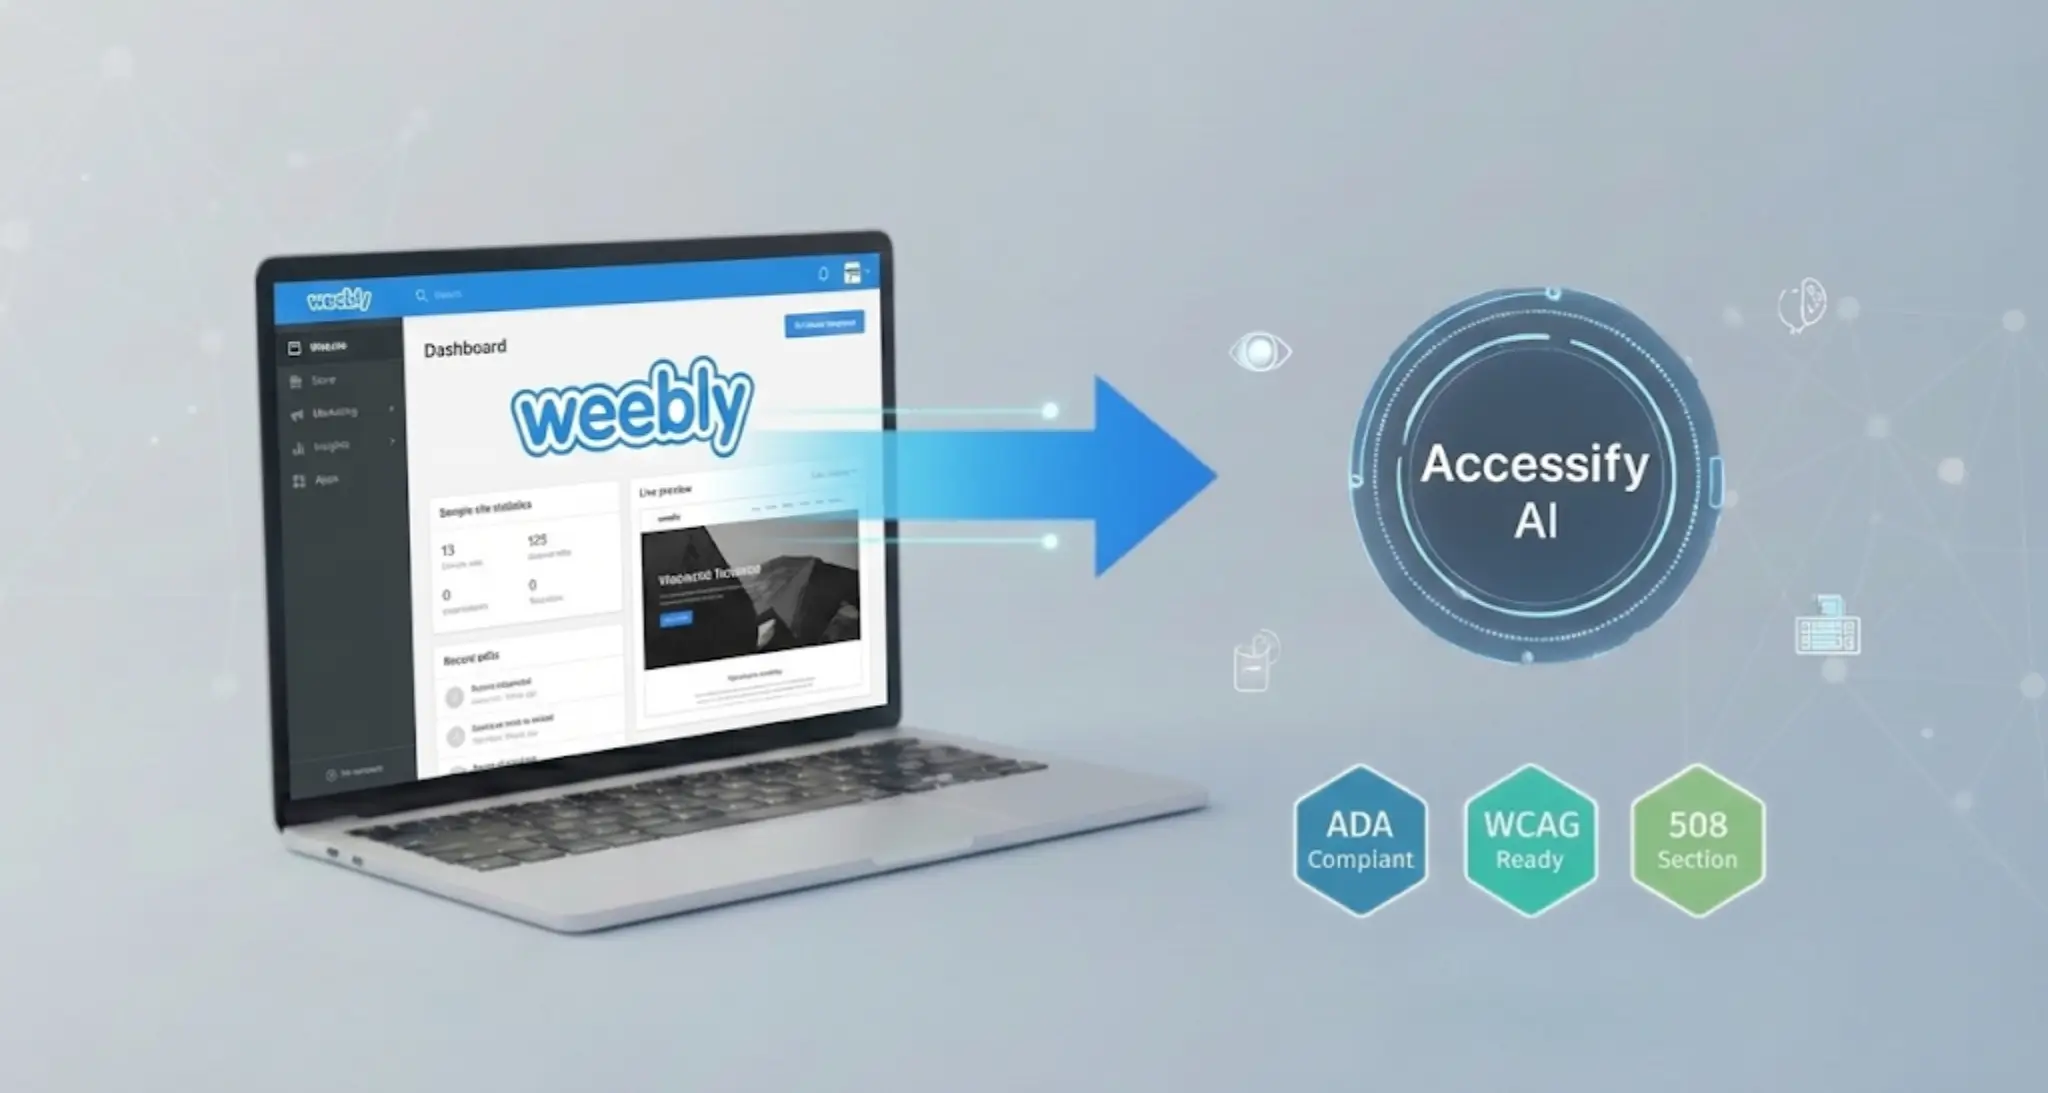
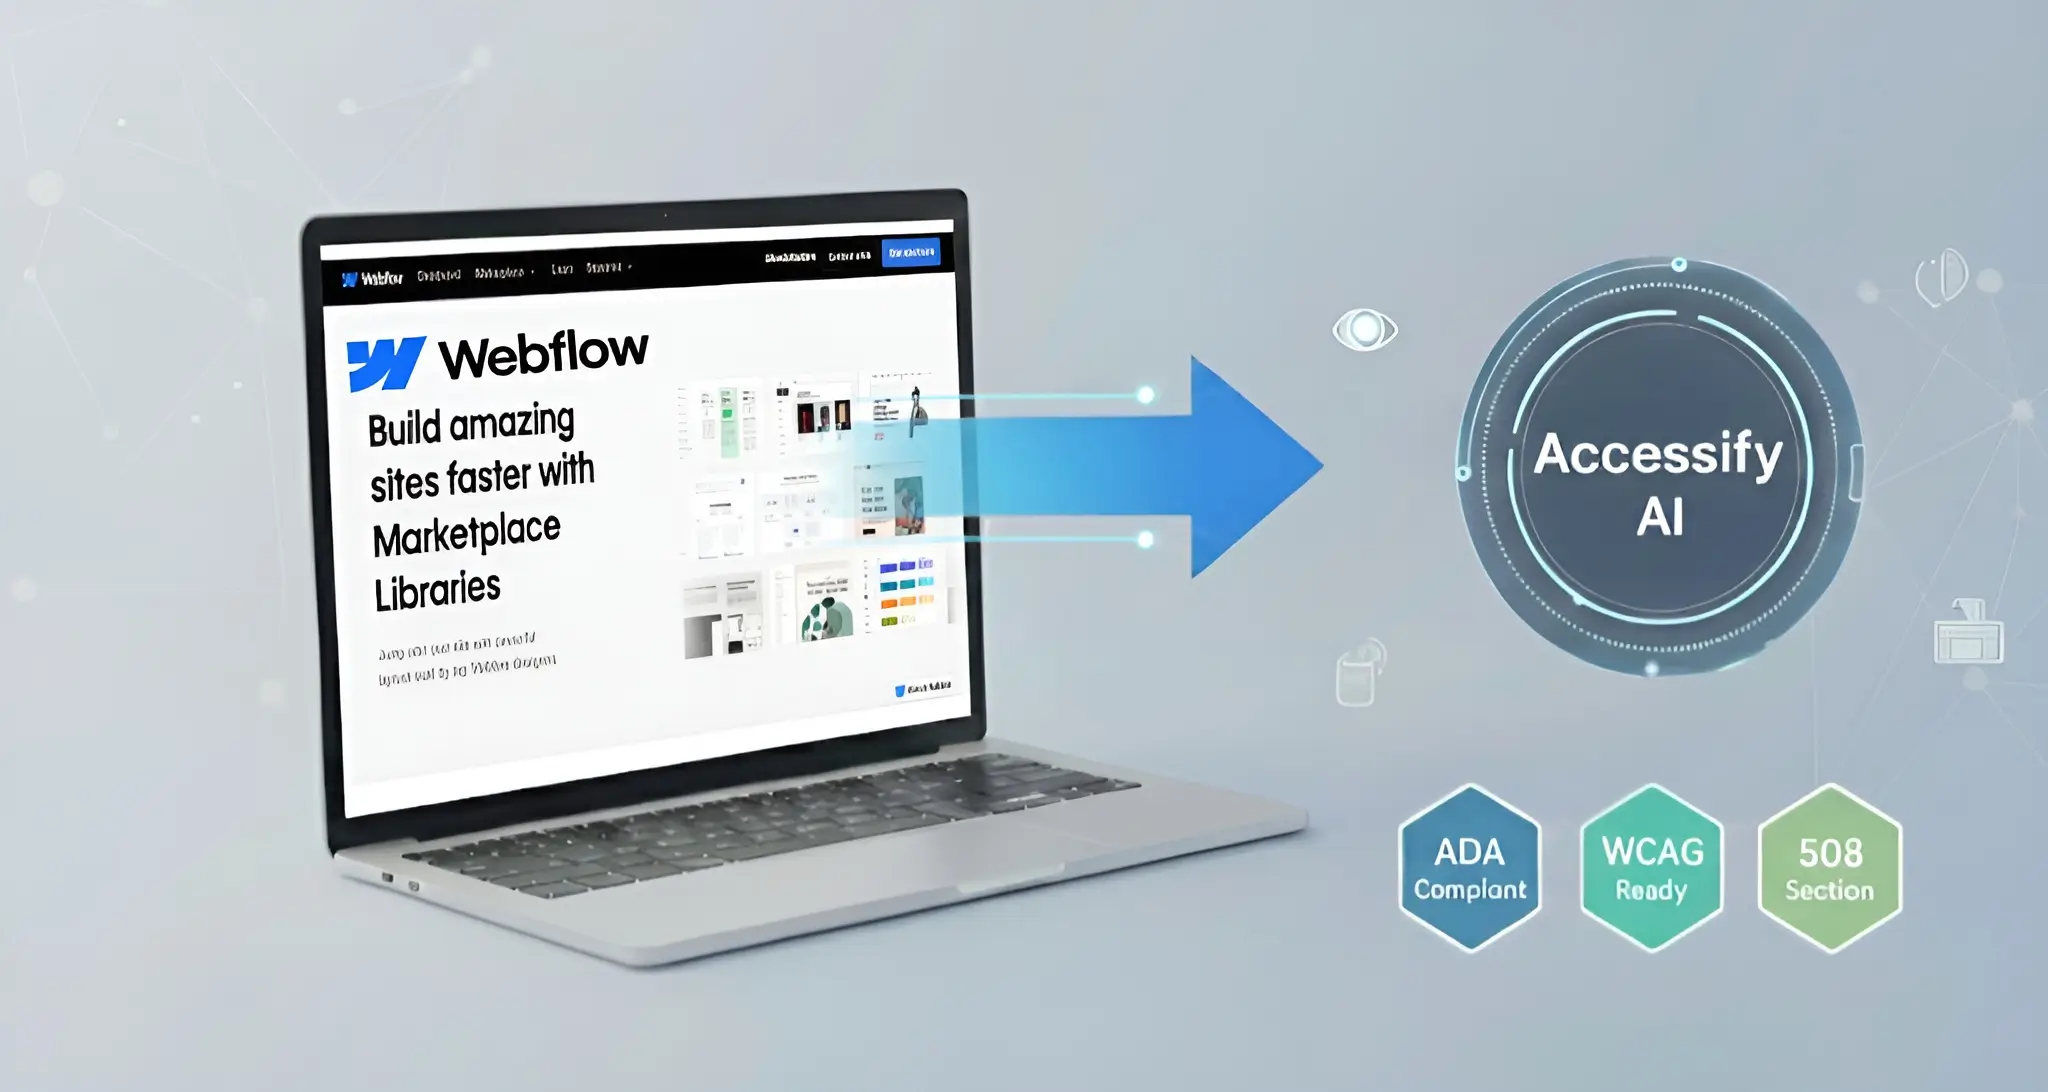
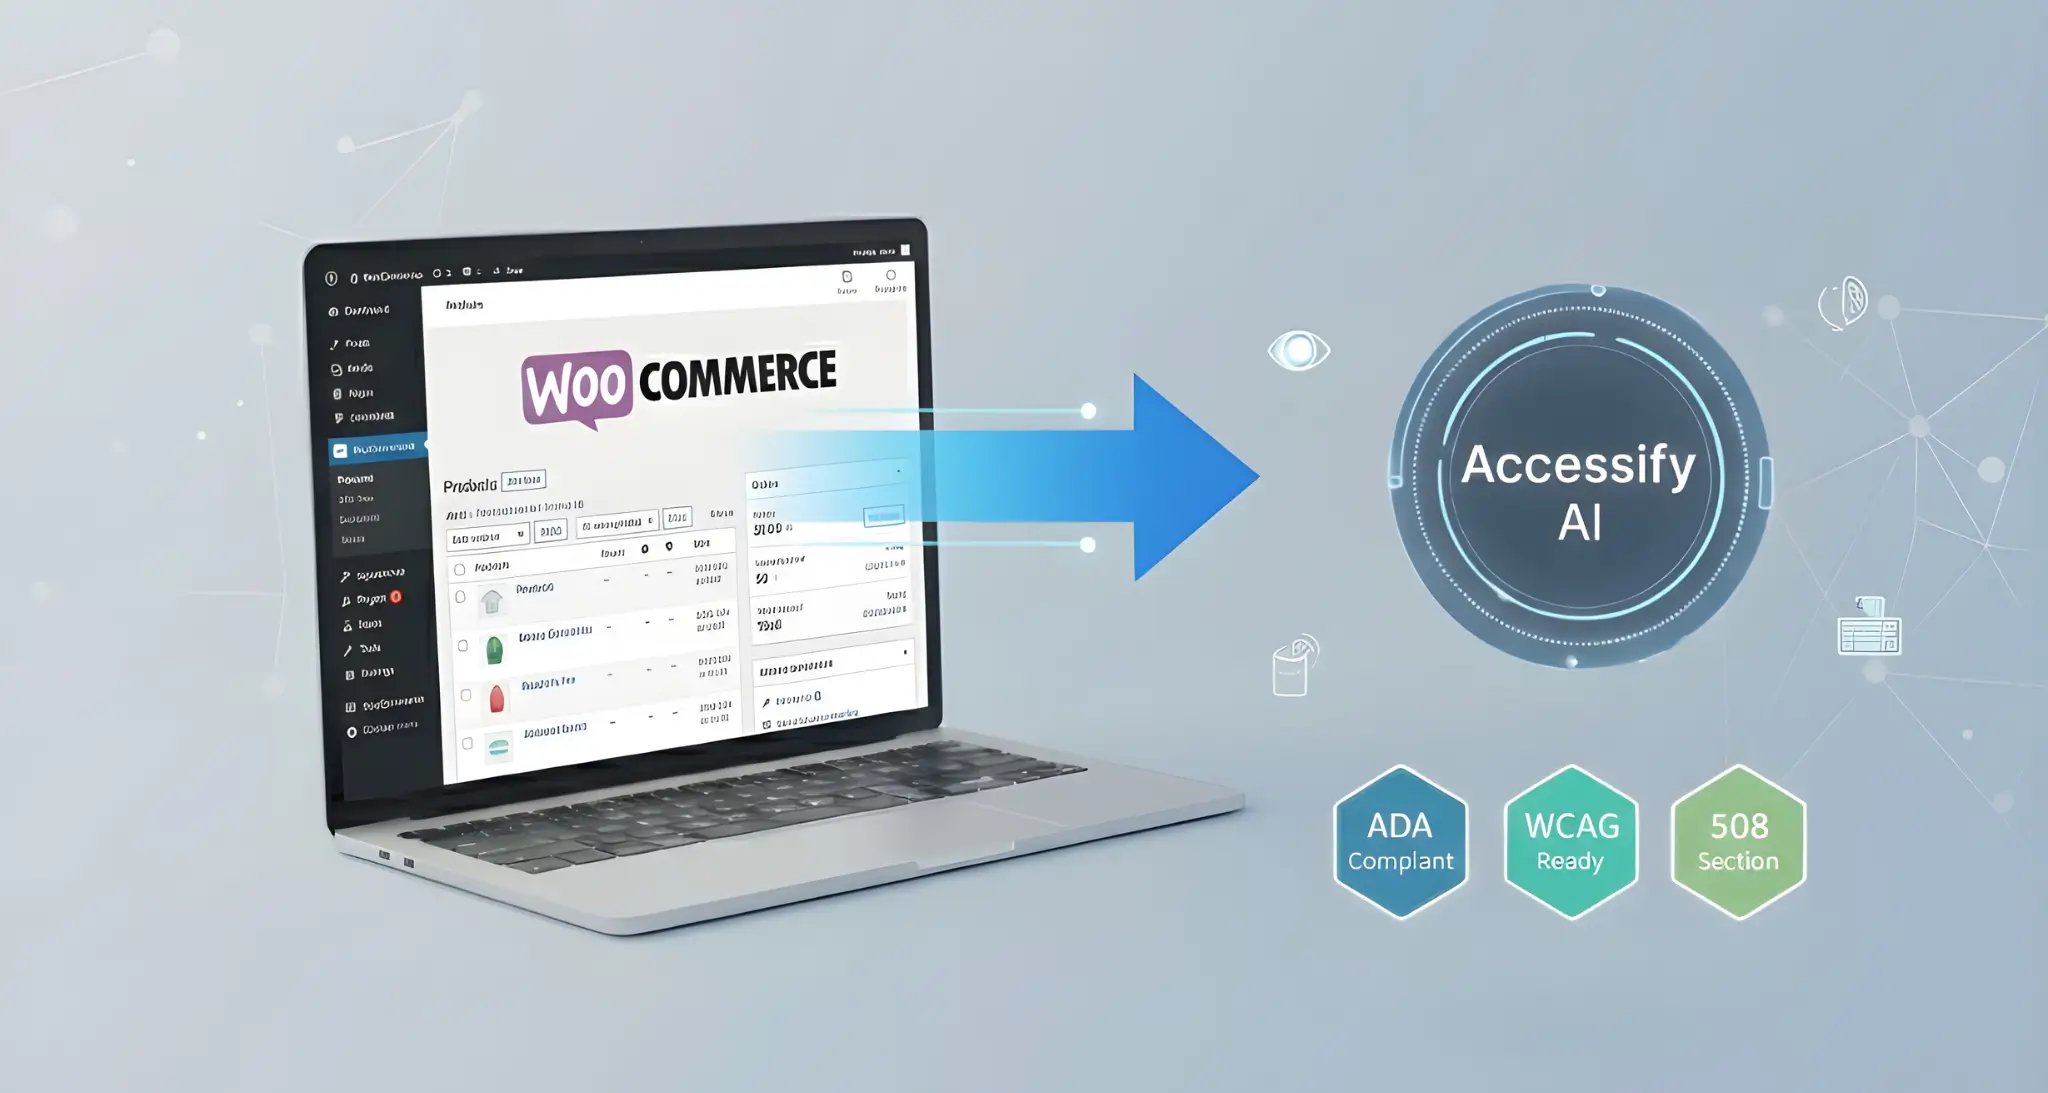
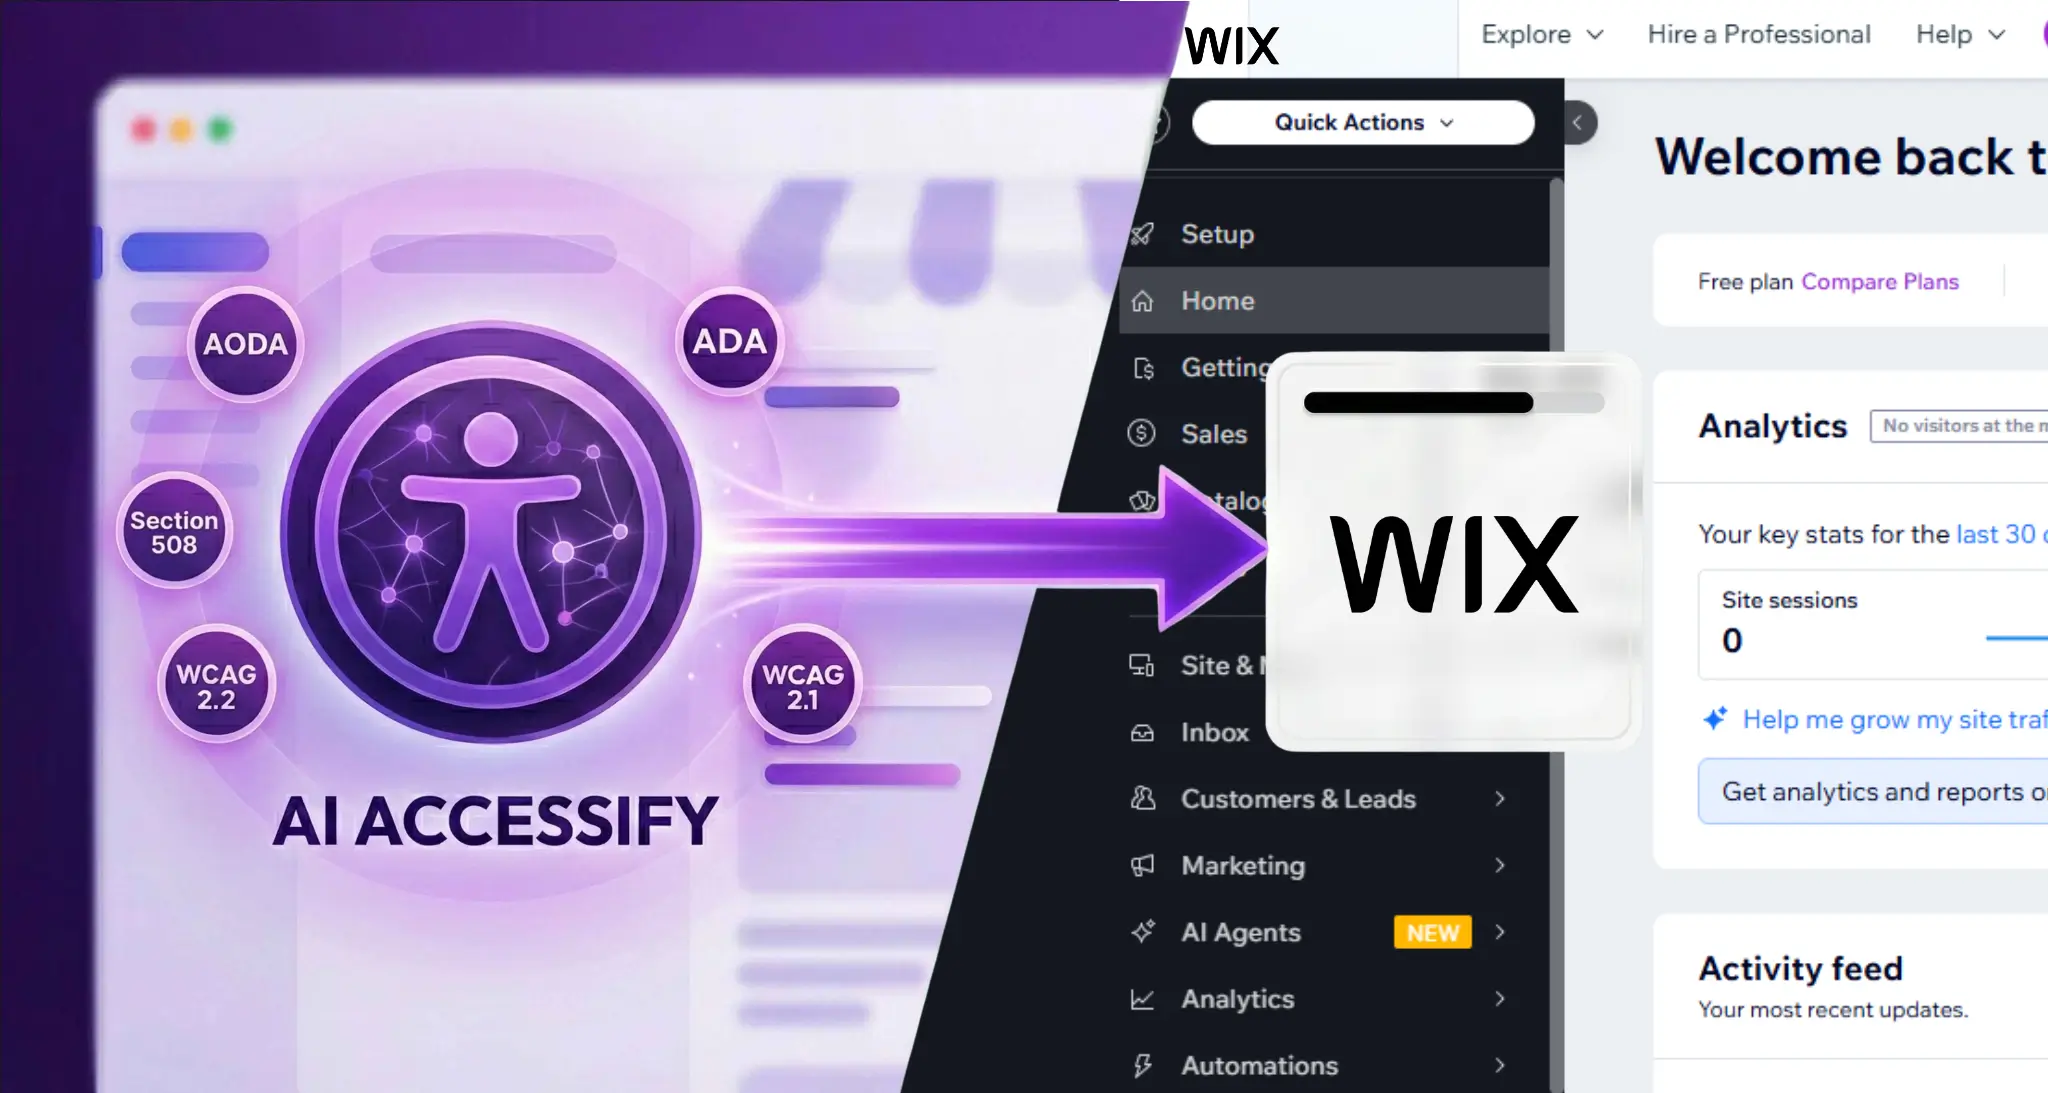
By integrating an accessibility solution like Accessify, you are not only complying with standards, you are actively improving the shopping experience for every visitor.
Two Ways to Integrate Accessify with Your Shopify Store
Accessify supports two installation methods, so you can choose the one that fits your workflow:
- No‑code Shopify App Store integration: Best for merchants and marketers who want a quick, reliable setup.
- Custom code integration: Best for developers, agencies, or brands that want full control over placement, performance, and customization.
Both methods activate the same AI‑powered Shopify accessibility widget, only the installation flow is different.
Method 1: Install the Accessify AI Accessibility App from the Shopify App Store
This is the quickest way to get the Accessify widget running on your store with no manual coding.
Step 1: Open the Shopify App Store
- Log in to your Shopify Admin Dashboard.
- From the left‑hand menu, click Apps and sales channels.
- Click Shopify App Store to open the marketplace in a new tab.
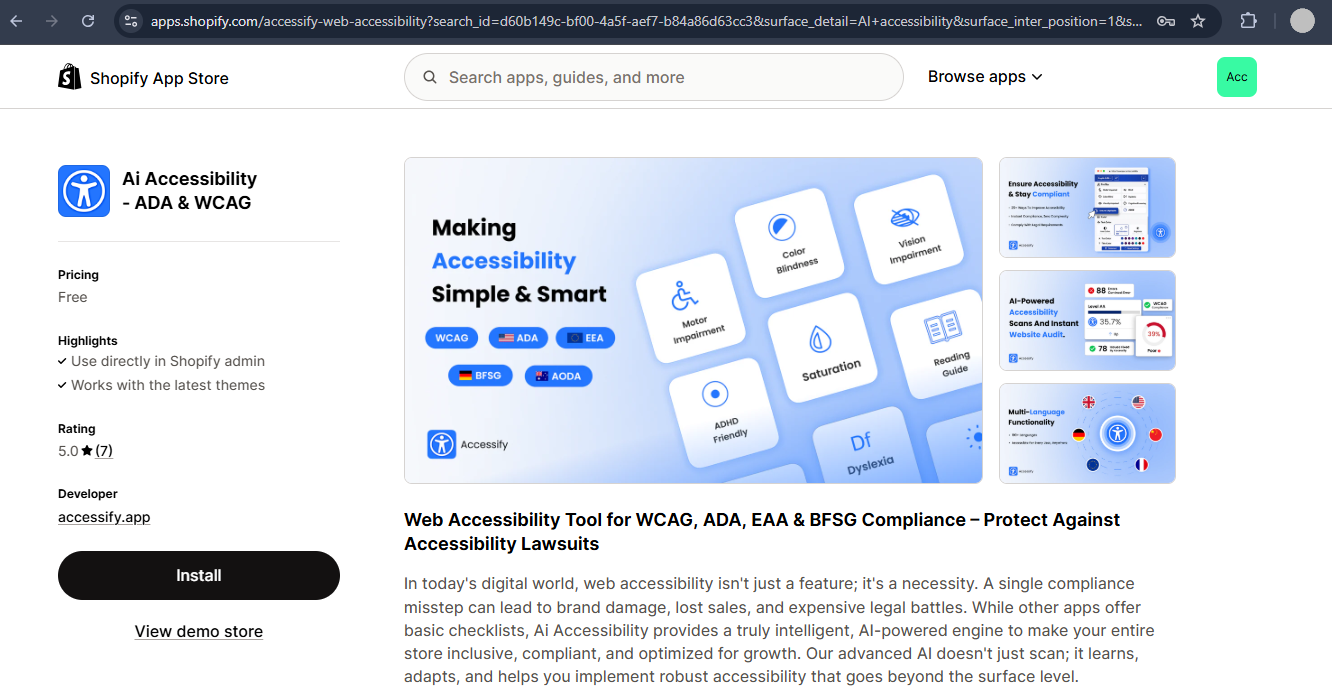
Step 2: Search for “AI Accessibility – ADA & WCAG”
- In the search bar of the App Store, type “AI Accessibility – ADA & WCAG”.
- Locate the Accessify AI Accessibility – ADA & WCAG app in the results.
- Click on the app card to open the detailed product page with features, screenshots, and reviews.
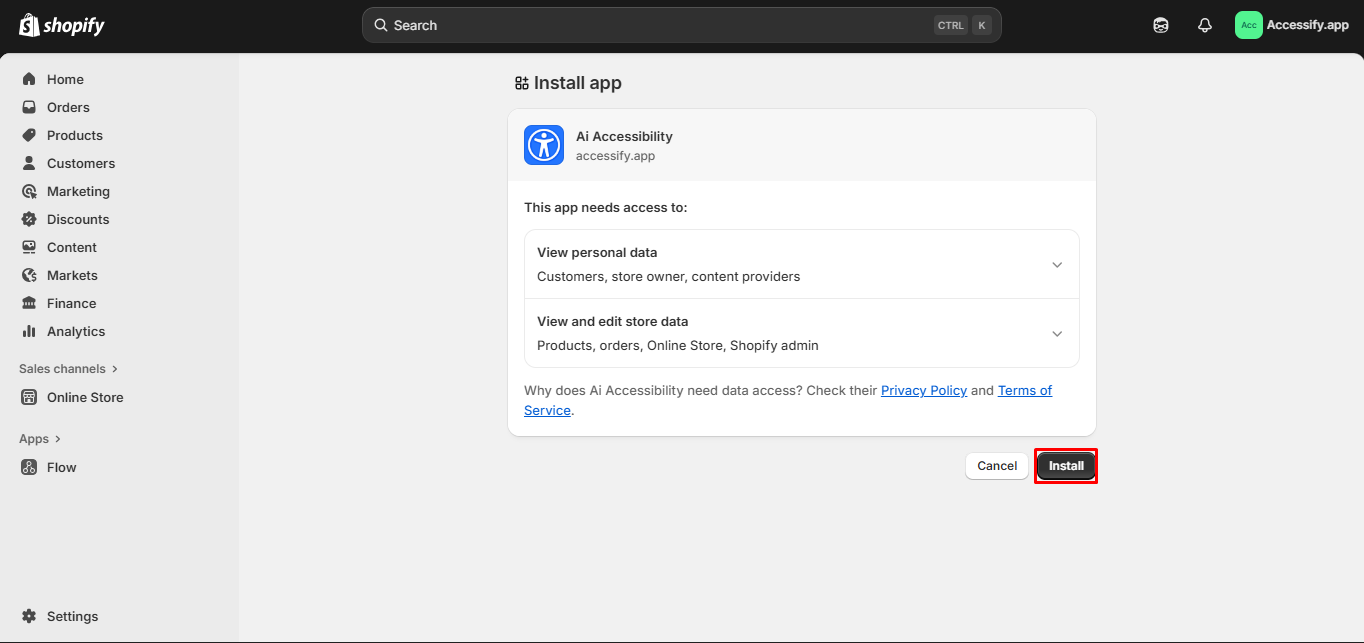
Step 3: Install the App on Your Shopify Store
- On the app product page, click Install app.
- Shopify will display a permissions screen showing what the app can access.
- Review the permissions and click Install to confirm.
Installation typically completes within a few seconds. Once done, the Accessify accessibility widget is available as a theme app extension.
Step 4: Enable the Accessify Widget in Your Theme
- In your Shopify admin, go to Online Store → Themes.
- Click Customize on your current live theme.
- In the left sidebar, look for the Theme app extensions or Apps section.
- Click Add block or Add app, then select Accessify Accessibility Widget.
- Position the widget if options are available and click Save.
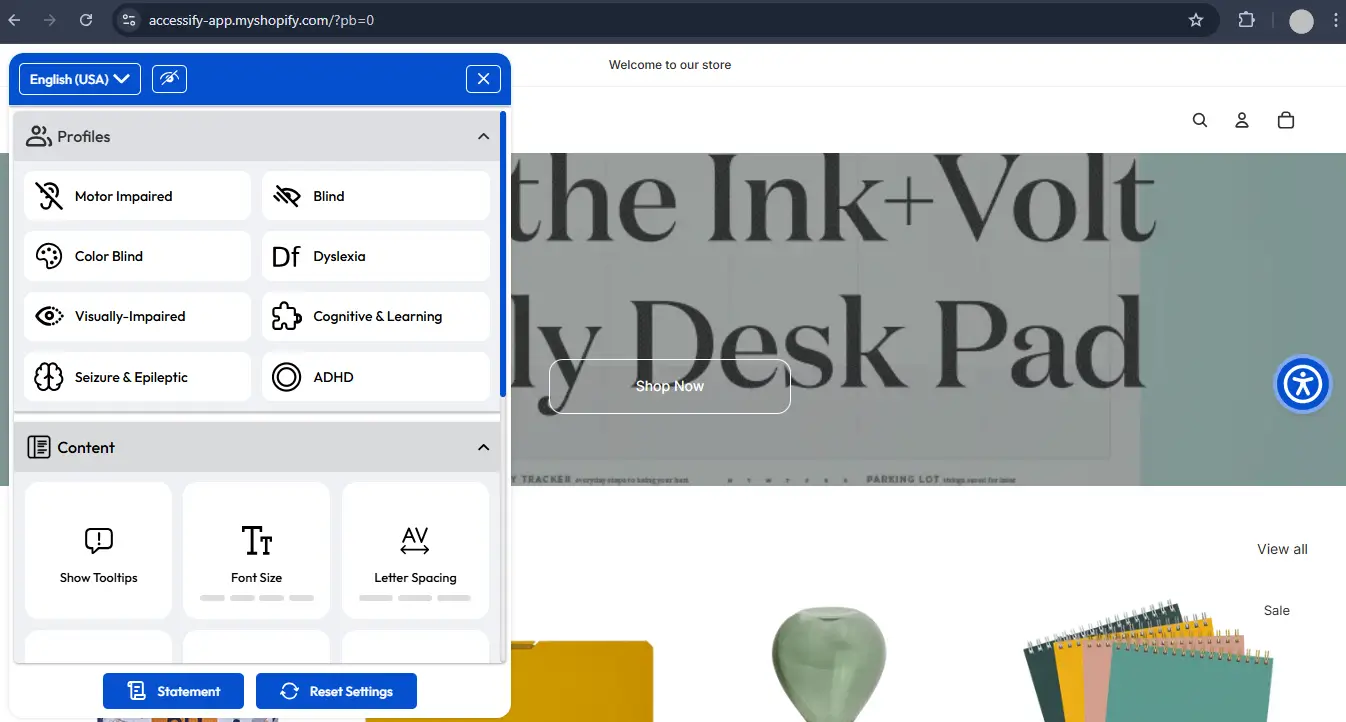
As soon as you save your changes, the Accessify widget should appear on your storefront, ready for customers to use.
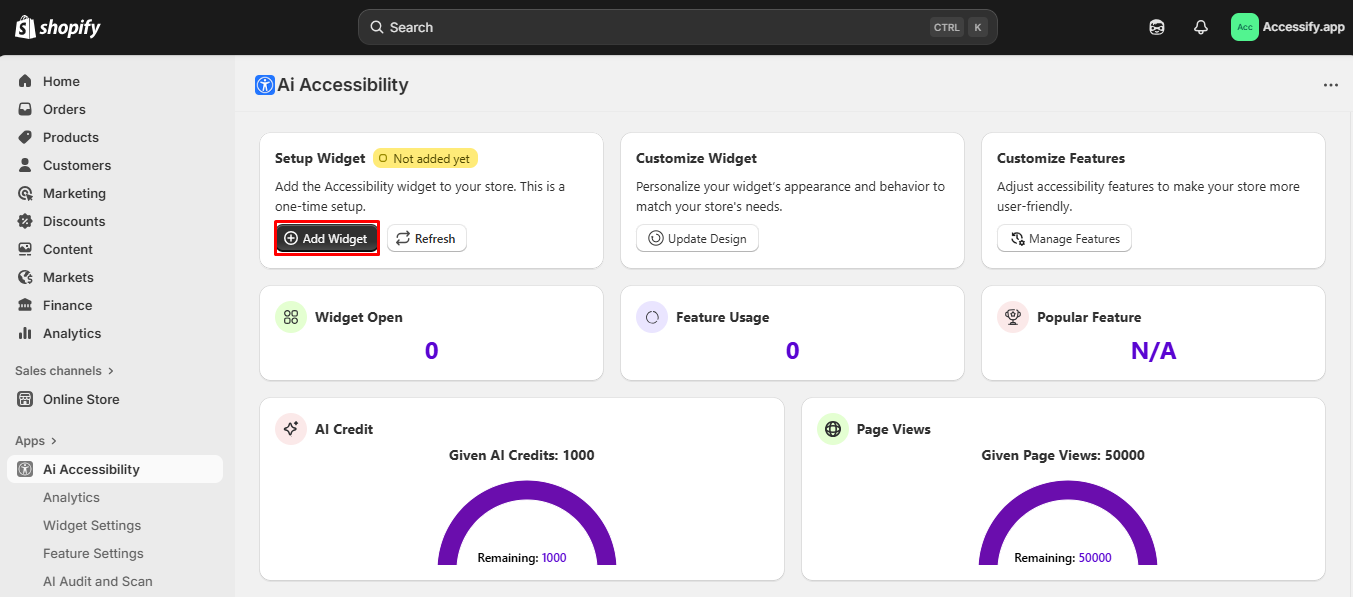
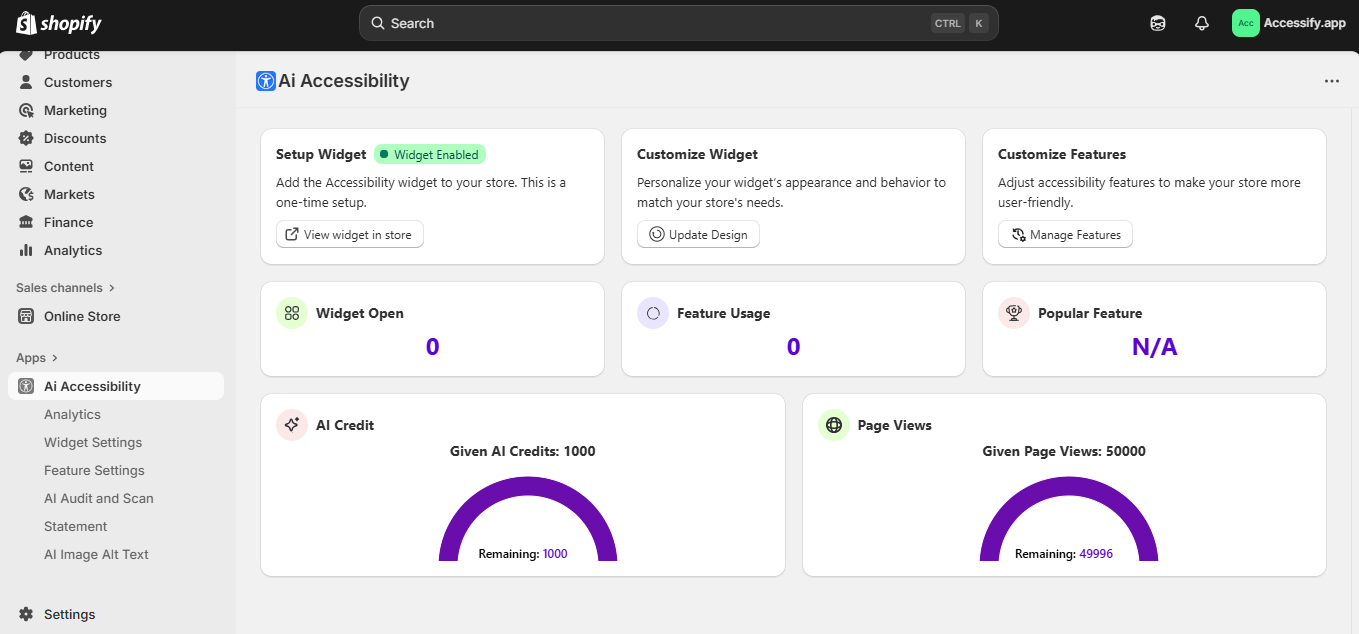
Step 5: Access the Accessify Dashboard
After installation, you’ll be redirected to the Accessify App Dashboard, where you can:
- Enable or disable specific accessibility tools (e.g., text resizing, color contrast, keyboard navigation helpers).
- Customize the widget’s icon, position, colors, and language to match your brand.
- Review analytics and interaction data to understand how visitors use accessibility features.
Step 6: Verify the Accessify Widget Installation
- Confirm that the Accessify icon is visible on every page.
- Toggle different accessibility controls such as text size, spacing, and contrast.
- Test keyboard navigation (Tab, Shift + Tab, Enter, Space) and basic screen reader behavior.
 By following these steps, your Our accessibility widget will provide a seamless, compliant experience for all users, enhancing engagement, inclusivity, and brand trust.
Method 2: Install Accessify on Shopify Using a Custom Code Snippet
If you are a developer, agency, or simply want deeper control over performance and placement, you can install Accessify via a lightweight JavaScript snippet.
Step 1: Log In to Your Accessify Account
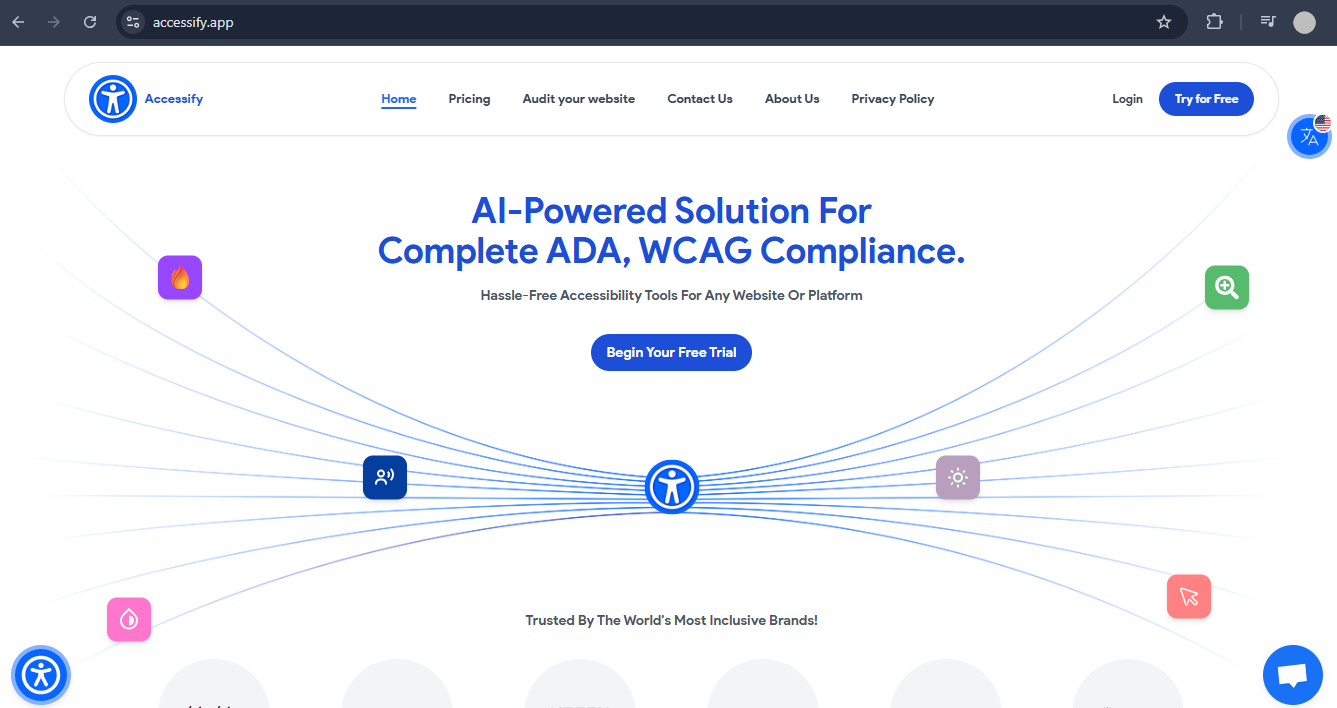
- Visit accessify.app and log in to your account.
- If you do not have an account yet, create one, this will generate your personalized Accessify Dashboard.
Your dashboard is where you manage properties (websites) & widget settings.
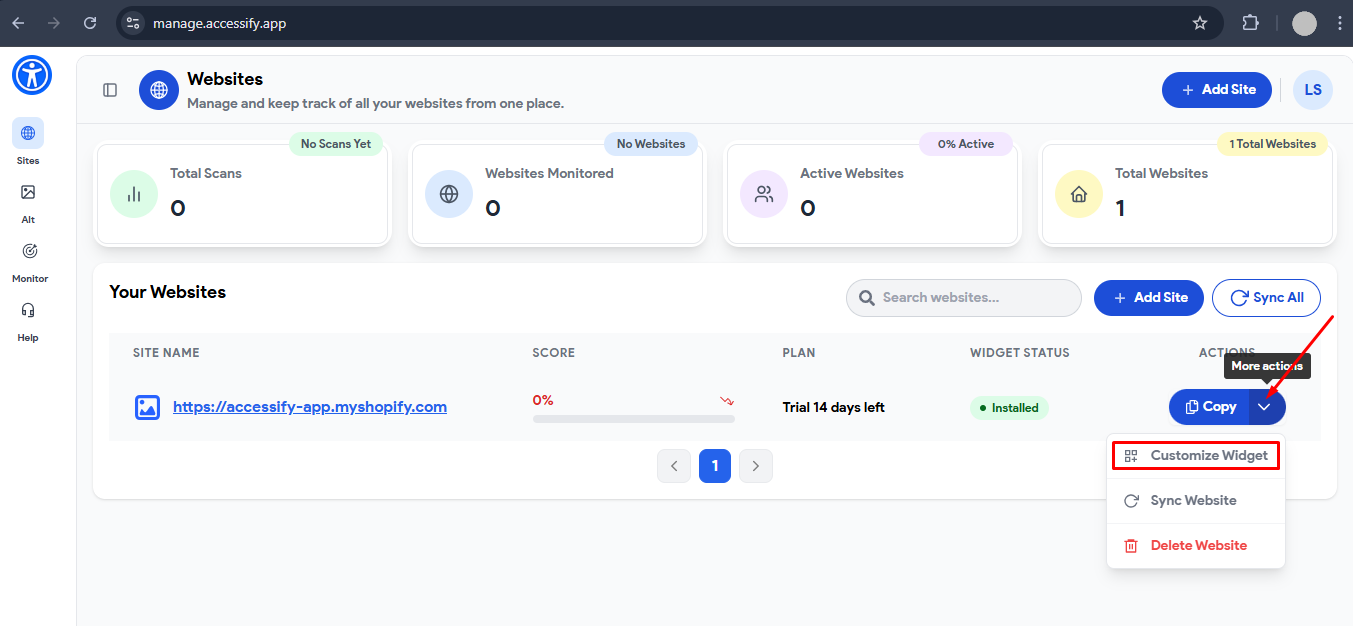
Step 2: Add Your Shopify Store in the Manage Dashboard
- Go to manage.accessify.app after logging in.
- Click Add website or similar option.
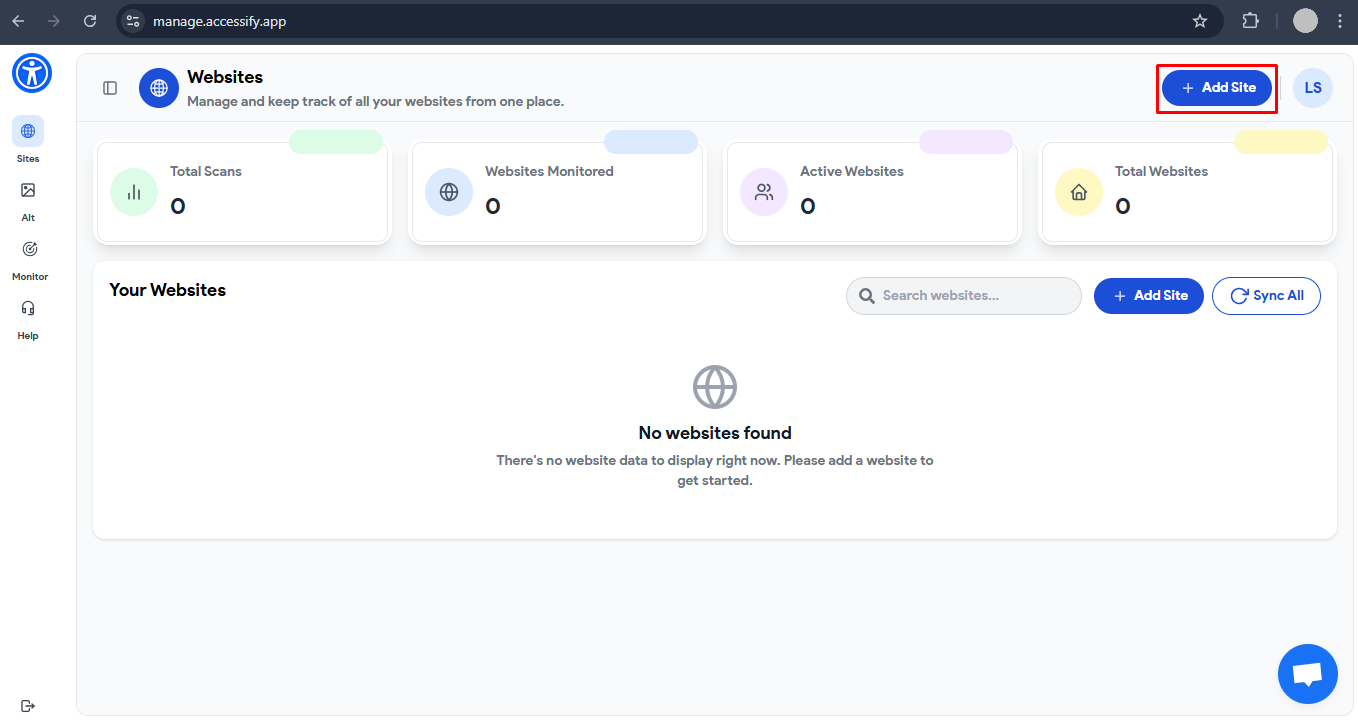
- Enter your Shopify store URL (for example,
https://yourstore.myshopify.comor your custom domain). - Save the property to generate a unique widget configuration for that store.
This step lets Accessify track and apply the correct settings for your specific Shopify property.

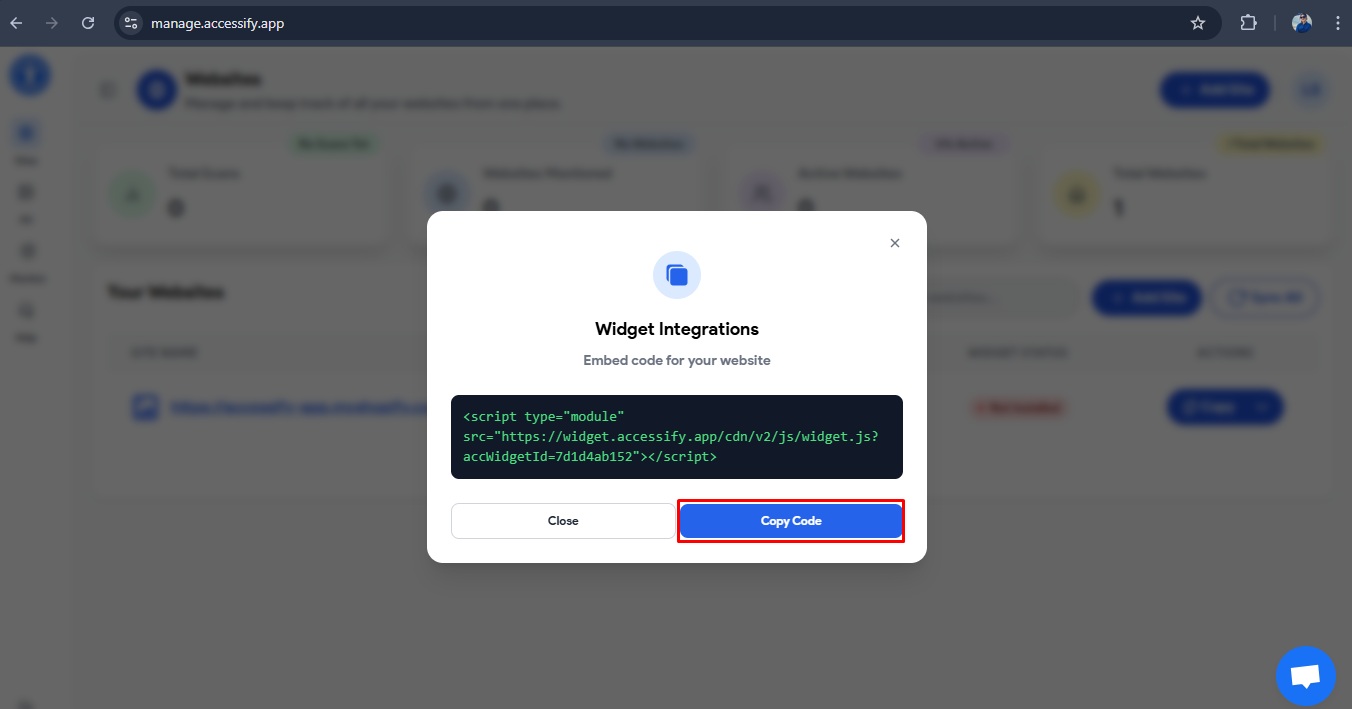
Step 3: Generate and Copy the Widget Code
- Inside the dashboard, open your new Shopify property.
- Look for the installation, embed code, or widget code section.
- Copy the provided JavaScript snippet to your clipboard.
This JavaScript snippet is unique to your Shopify store and includes your personalized accessibility settings. Copy the entire code, you’ll need it in the next step. 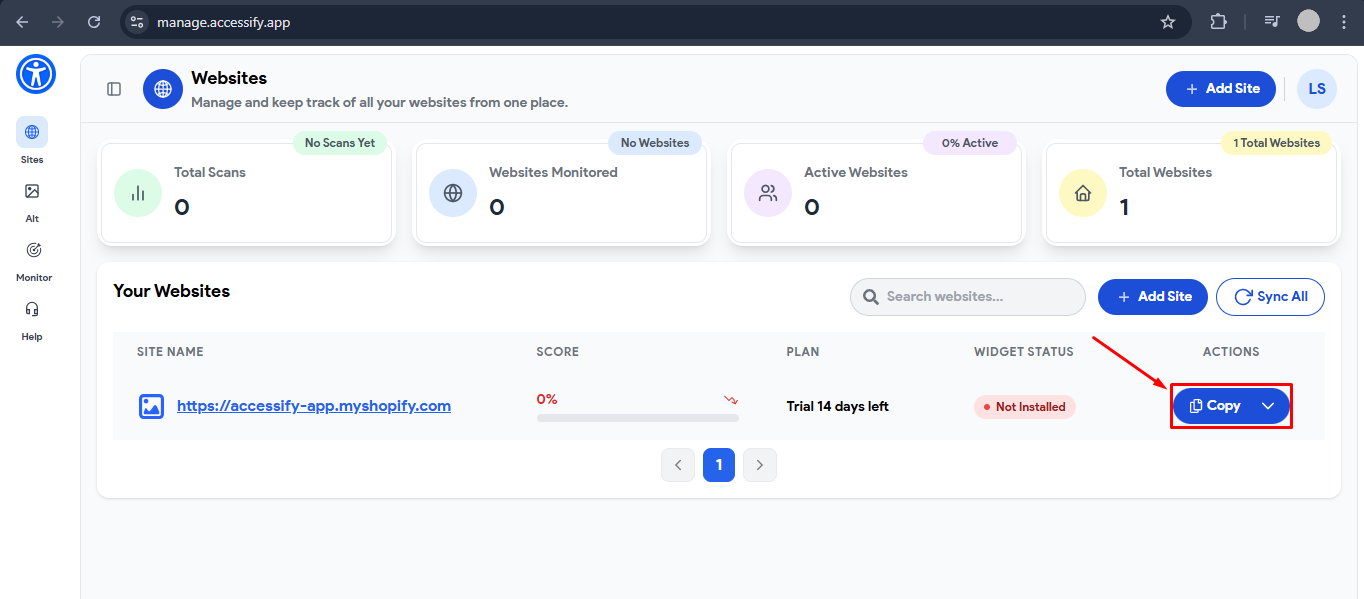
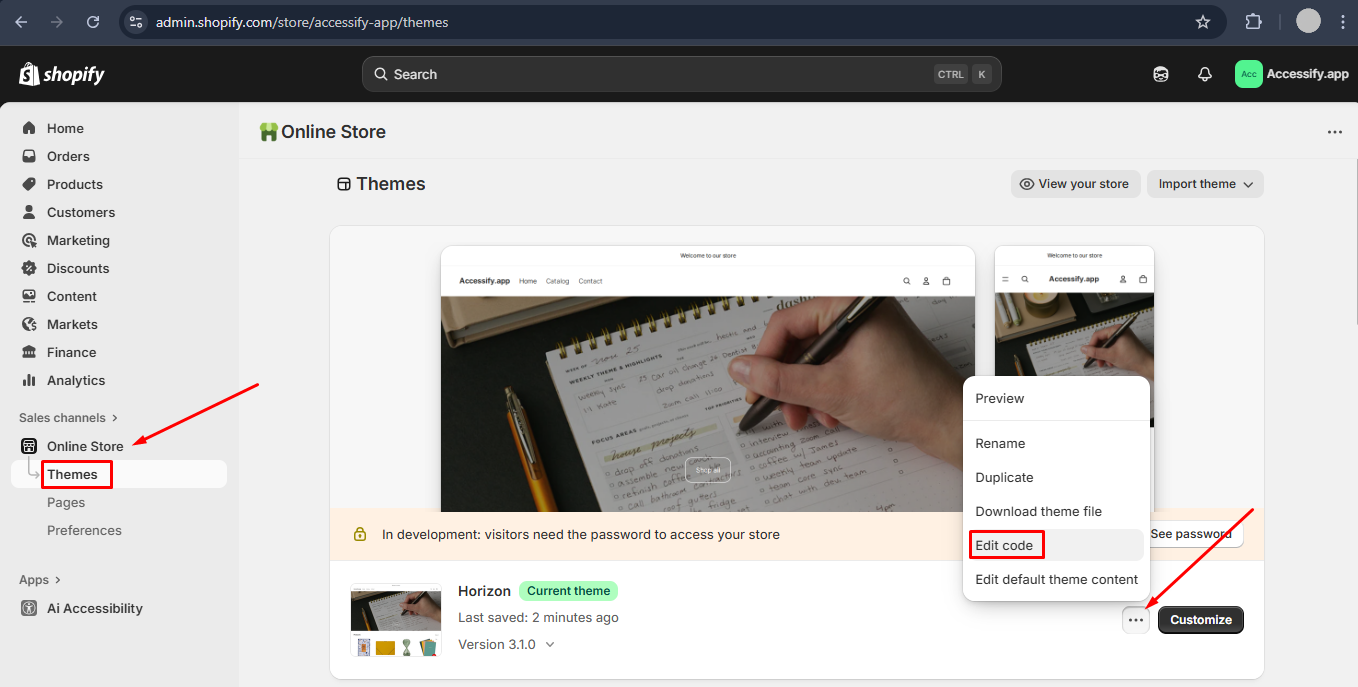
Step 4: Open the Shopify Theme Code Editor
- Return to your Shopify Admin Dashboard.
- Navigate to Online Store → Themes.
- Next to your active theme, click the three dots menu and choose Edit code.
For safety, you may want to duplicate your theme before editing, especially on high‑traffic stores.
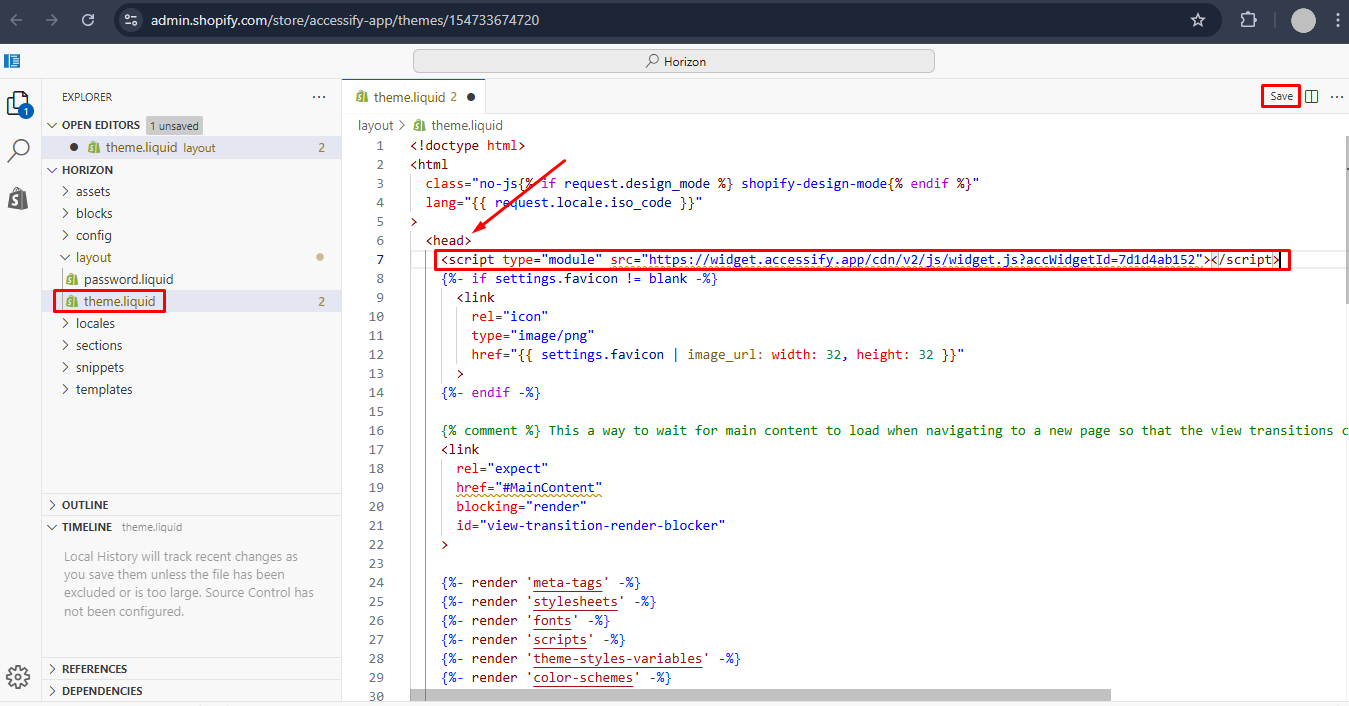
Step 5: Locate the theme.liquid File
In the Edit code view:
- Under the Layout section, click on theme.liquid.
- This file controls the global structure of your theme and is typically the right place to add scripts that must run on every page.
Step 6: Paste the Code in the Header or Body Section
Within theme.liquid:
- Use Ctrl + F (Windows) or Cmd + F (Mac) to search for
</head>or</body>. - Recommended: paste the Accessify script just above the
</head>tag for optimal loading and early initialization. - Alternatively, you can paste it just above the closing
</body>tag if you prefer to defer execution slightly. - Make sure you paste the code on a new line and do not remove existing theme code.
Click Save to apply the changes.
Step 7: Verify the Widget and Fine‑Tune Settings
- Open your Shopify storefront in a new browser window or incognito session.
- Confirm that the Accessify accessibility widget appears and works across key templates (home, collection, product, cart, checkout where applicable).
- Go back to manage.accessify.app to:
- Change widget position and color.
- Enable/disable features to match your brand and UX.
- Review logs or analytics if available.
The custom code method gives you maximum flexibility and complements the app store method for advanced setups.
 Your Shopify store is now equipped with Accessify’s AI-powered accessibility protection. Visit your Shopify storefront to verify that the Accessify Accessibility Widget is properly displayed and functioning as intended. Test essential accessibility features such as text resizing, color contrast adjustments, and keyboard navigation to ensure your website remains ADA-compliant, SEO-friendly, and delivers a seamless, inclusive browsing experience for all users.
Why Choose Accessify Over Generic Shopify Accessibility Apps
There are several accessibility widgets and apps available for Shopify. What differentiates Accessify is its focus on:
- AI‑driven automation: Instead of relying only on static configuration, Accessify adapts its behavior based on your store’s structure and content.
- Developer‑friendly options: App‑store and custom‑code installation methods give you flexibility for different projects and client needs.
- Performance‑conscious design: The script aims to preserve site speed, which is critical for both SEO and conversion rates.
- Shopify‑first approach: The integration flow, dashboard, and documentation are tailored specifically to the Shopify ecosystem.
For merchants and agencies who want a balance of automation, control, and performance, Accessify is a strong fit.
This custom code installation method gives you maximum flexibility, faster load performance, and full control over how accessibility is integrated, ensuring your online store remains inclusive, and optimized for all users.
FAQs
Shopify provides a reasonably accessible foundation, but no platform can guarantee full ADA or WCAG 2.1 compliance for every store by default. Your theme, apps, and custom code can all introduce accessibility barriers. Using an accessibility solution like Accessify, combined with good design and content practices, helps you move much closer to compliance.
Accessify adds an AI‑powered accessibility widget to your store that gives users control over text size, contrast, spacing, and other assistive features. It also enhances keyboard navigation and readability across your pages. While no single tool can guarantee 100% legal compliance, Accessify significantly reduces the most common accessibility issues and supports your wider compliance strategy.
Not necessarily. If you use the Shopify App Store integration, installation is largely no‑code and can be done directly from your Shopify admin. If you prefer the custom code integration method, it is helpful to have a developer or someone comfortable editing theme.liquid to paste the JavaScript snippet correctly.
The Accessify script is designed to be lightweight and performance‑conscious. In most setups, the impact on page speed is minimal, especially compared to the benefits of improved accessibility and user experience. As always, you should test your store’s Core Web Vitals after any new integration and optimize further if needed.
Accessify is theme‑agnostic and works with most modern Shopify themes, including Online Store 2.0 themes. However, heavily customized themes or complex layouts may require additional configuration. If you notice any visual conflicts or overlapping UI, you can adjust the widget position and styling in the Accessify dashboard.